TL;DR : Apprenez à créer des visuels marketing professionnels en combinant plusieurs images générées par IA. Ce tutoriel vous guide étape par étape : création d'accessoires, de backgrounds, de mannequins virtuels, extension d'image et montage final avec texte pour les réseaux sociaux.
Dans le monde du marketing digital, les visuels de qualité sont essentiels pour capter l'attention de votre audience. Mais que faire quand vous n'avez pas le budget pour un shooting photo professionnel avec modèles, décors et accessoires ? La réponse : YourRender.ai et son workflow multi-images révolutionnaire.
Dans ce tutoriel complet, nous allons créer ensemble un visuel publicitaire professionnel pour une marque fictive de beach-volley "Volley 4 All", en partant de zéro et en utilisant uniquement l'intelligence artificielle.
Le résultat final : une photo publicitaire professionnelle créée entièrement avec l'IA
🎯 Ce que vous allez apprendre
Ce tutoriel vous montrera comment :
- Créer des accessoires réalistes avec Accessory Studio
- Générer des backgrounds immersifs avec Background Studio
- Créer des mannequins virtuels avec Character Studio
- Étendre des images pour changer leur format avec Image Tools
- Combiner plusieurs éléments dans Image Studio Pro
- Ajouter du texte professionnel pour les réseaux sociaux
À la fin de ce guide, vous saurez créer des visuels marketing dignes d'une agence professionnelle, sans photographe, sans studio, et sans budget conséquent.
🏐 Étape 1 : créer l'accessoire avec Accessory Studio

Notre première étape consiste à créer l'élément central de notre publicité : un ballon de beach-volley professionnel.
Comment procéder
- Ouvrez Accessory Studio depuis le menu principal
- Décrivez l'accessoire souhaité : "ballon de beach-volley professionnel, couleurs jaune et bleu marine, texture réaliste, éclairage studio"
- Sélectionnez le format 9:16 (vertical) pour une utilisation mobile
- Cliquez sur Générer
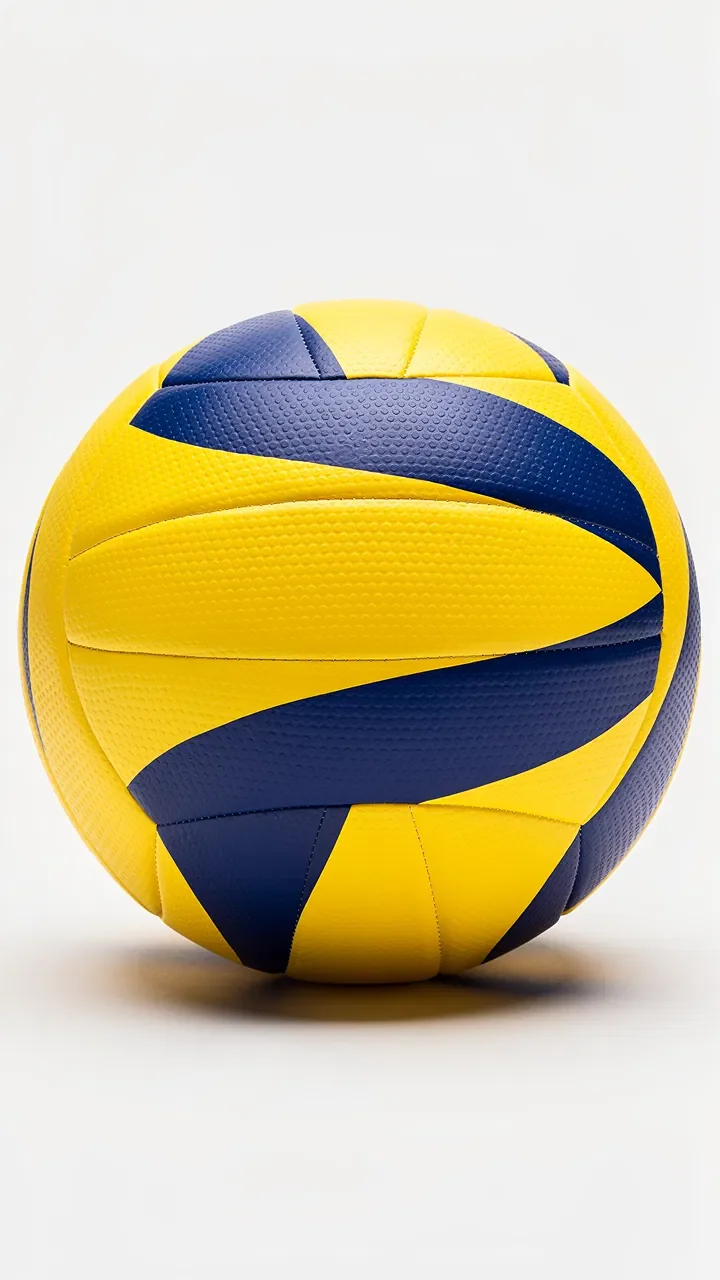
Notre ballon de beach-volley généré par l'IA - notez la qualité des textures et des couleurs
Conseils pour de meilleurs résultats

- Soyez précis dans votre description (couleurs, matériaux, style)
- Mentionnez l'éclairage souhaité (studio, naturel, dramatique)
- Spécifiez le fond si nécessaire (blanc, transparent, coloré)
Le résultat est impressionnant : un ballon de volley photoréaliste avec des couleurs vibrantes et une texture authentique. L'IA a parfaitement capturé les panneaux caractéristiques et l'aspect cuir du ballon.
🏖️ Étape 2 : générer le background avec Background Studio
Maintenant que nous avons notre accessoire, créons le décor parfait : une plage paradisiaque au coucher du soleil.
Configuration du background
- Accédez à Background Studio
- Entrez votre prompt : "plage tropicale paradisiaque au coucher du soleil, sable blanc, palmiers, eau turquoise, ciel orangé et rose, style lifestyle magazine"
- Format : 9:16 (vertical, identique à l'accessoire)
- Générez l'image
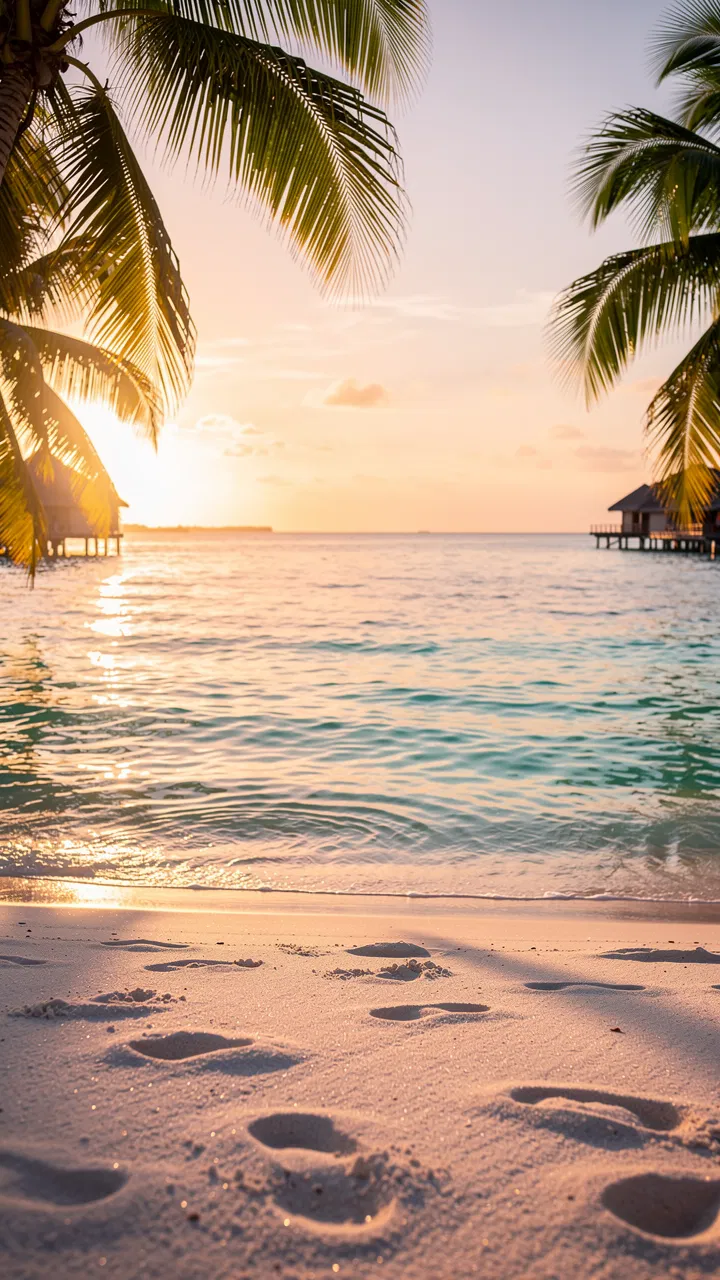
Un décor de rêve généré en quelques secondes
Pourquoi ce background fonctionne
- Cohérence thématique : plage = beach-volley, association naturelle
- Ambiance émotionnelle : coucher de soleil = moment de détente, lifestyle
- Couleurs complémentaires : orangé/turquoise contraste avec le jaune/bleu du ballon
- Espace libre : zone en bas parfaite pour placer le mannequin
👗 Étape 3 : créer le mannequin avec Character Studio
L'élément humain est crucial pour connecter émotionnellement avec l'audience. Créons un mannequin virtuel en maillot de bain.
Génération du mannequin
- Ouvrez Character Studio
- Configurez les paramètres :
- Genre : Femme
- Âge : 25-30 ans
- Ethnicité : Caucasienne
- Tenue : Maillot de bain une pièce beige/nude
- Pose : Debout, décontractée, professionnelle
- Format : 1:1 (carré) - nous l'étendrons ensuite
- Générez le mannequin
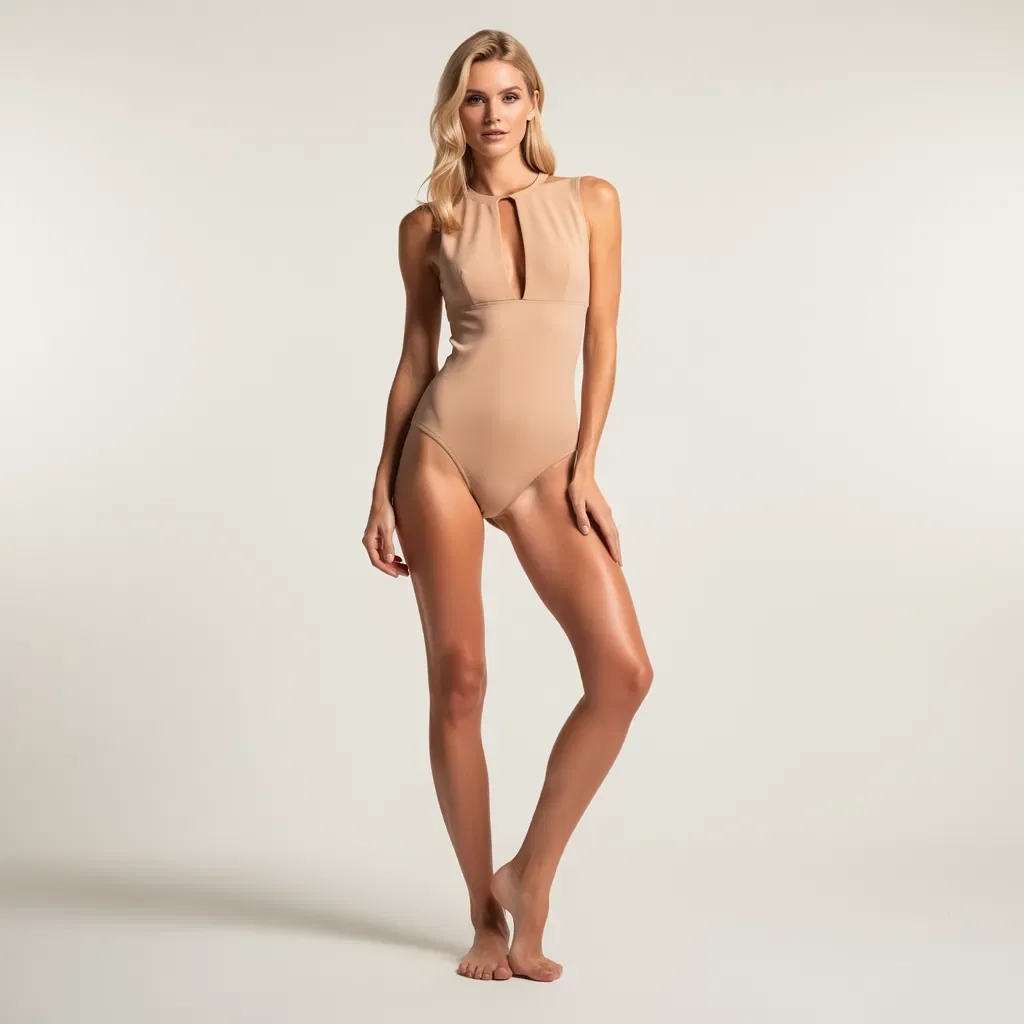
Le mannequin généré en format carré (1:1)
Points importants
- Le format carré capture parfaitement le mannequin entier
- La pose est naturelle et professionnelle
- Le maillot beige/nude est neutre et élégant
- Le fond blanc facilitera l'intégration dans la scène finale
🔧 Étape 4 : étendre l'image avec Image Tools
Notre mannequin est en format carré, mais nous avons besoin d'un format 9:16 vertical pour l'intégrer dans notre composition. C'est là qu'Image Tools entre en jeu.
Utilisation d'Image Tools pour l'extension
- Allez dans Image Tools > Étendre l'image
- Uploadez l'image du mannequin (format carré)
- Sélectionnez le nouveau format : 9:16
- L'IA va intelligemment étendre l'image en haut et en bas
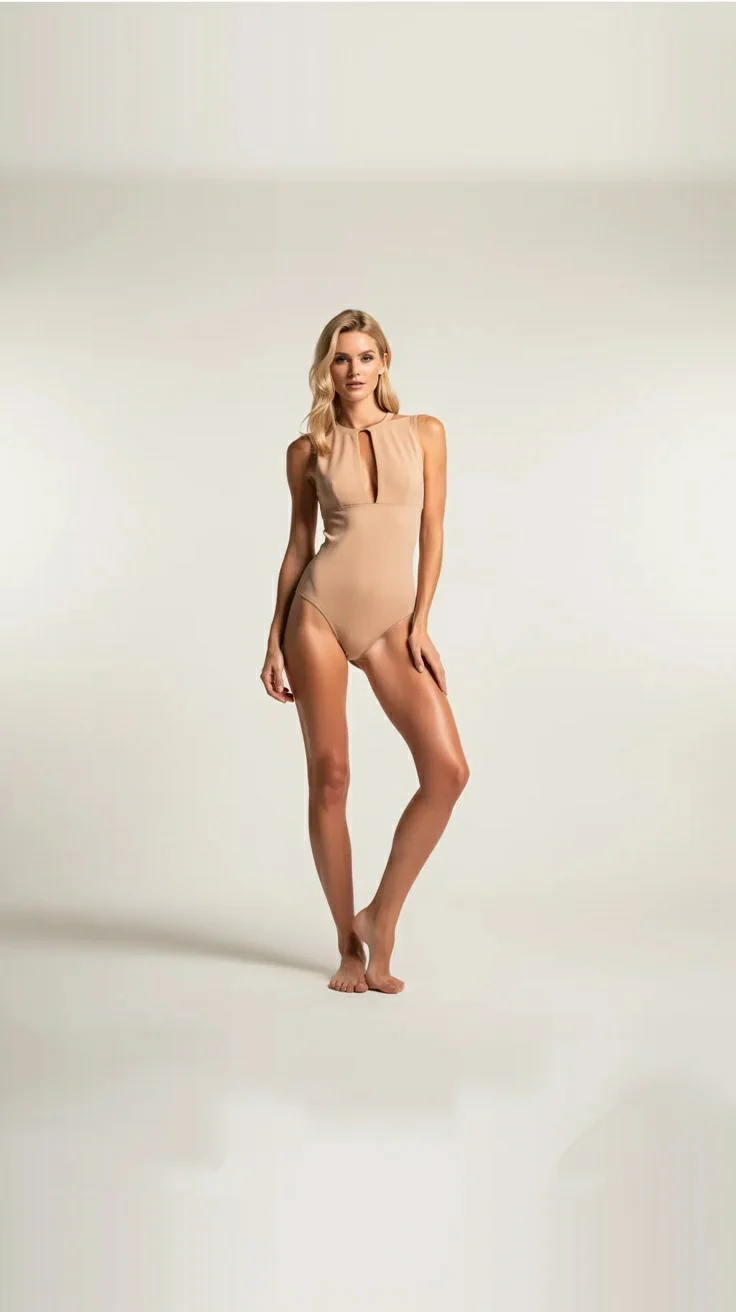
Le même mannequin, maintenant en format vertical 9:16
Ce que fait l'IA
L'extension d'image utilise l'outpainting - une technique d'IA qui :
- Analyse le contexte existant (couleur de fond, éclairage, style)
- Génère du contenu cohérent pour les zones ajoutées
- Préserve parfaitement le sujet original
- Crée une transition imperceptible
Remarquez comment le fond blanc s'étend naturellement vers le haut et le bas, tout en conservant l'intégrité du mannequin.
🎨 Étape 5 : assembler le tout avec Image Studio Pro
C'est le moment de magie ! Nous allons combiner tous nos éléments dans Image Studio Pro avec la fonctionnalité Multi-Product Arrangement.
Configuration du montage
- Ouvrez Image Studio Pro
- Sélectionnez le mode Multi-Product Arrangement
- Uploadez vos images :
- Image principale : Mannequin (9:16)
- Background : Plage tropicale (9:16)
- Accessoire : Ballon de volley (9:16)
- Décrivez l'arrangement souhaité : "Placer le mannequin sur la plage, tenant le ballon de volley dans ses mains, éclairage cohérent avec le coucher de soleil"
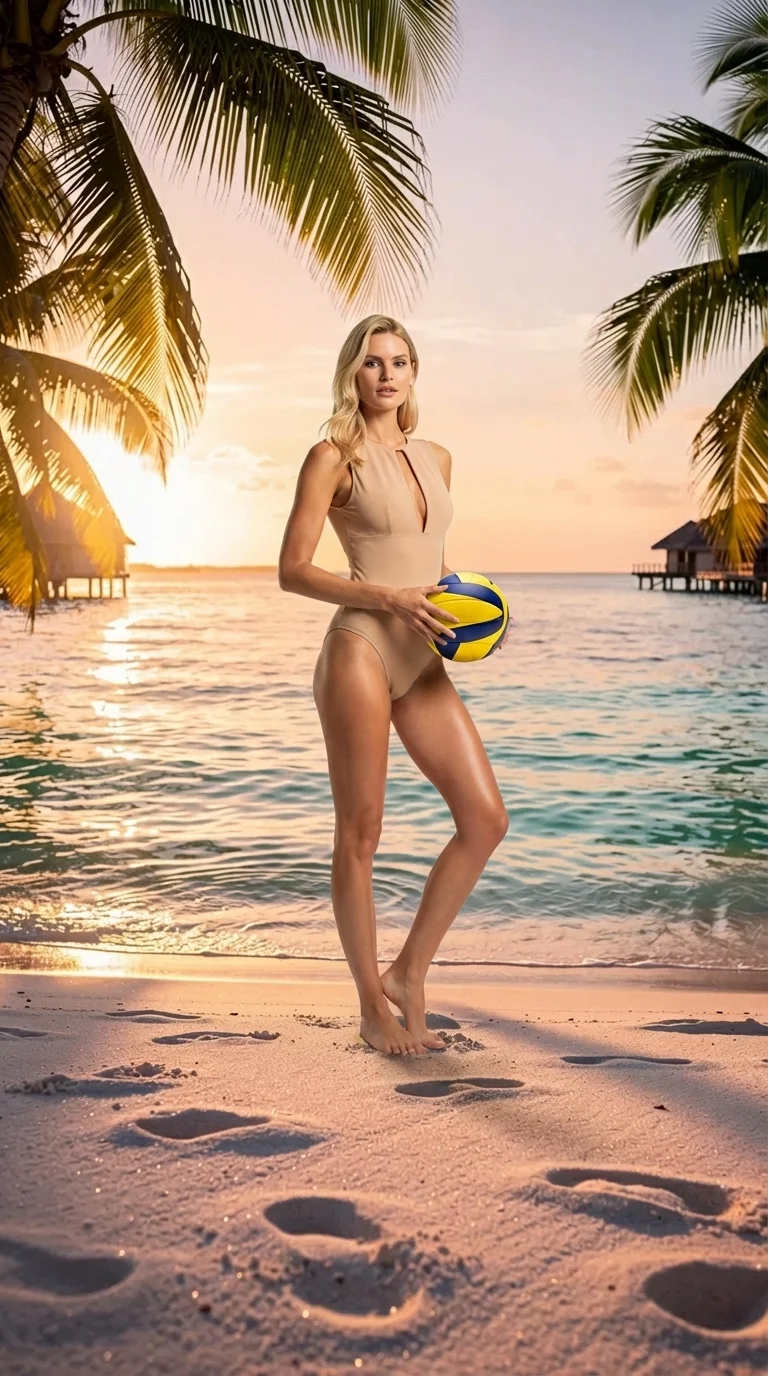
Le résultat du Multi-Product Arrangement : une scène cohérente et professionnelle
La puissance du Multi-Product Arrangement
Cette fonctionnalité est révolutionnaire car elle :
- Unifie l'éclairage : adapte les ombres et lumières de chaque élément
- Harmonise les couleurs : ajuste la température de couleur pour une cohérence globale
- Gère la perspective : ajuste les tailles et angles pour un rendu naturel
- Intègre les éléments : fusionne les bords de manière imperceptible
Le résultat est bluffant : on dirait une vraie photo de shooting professionnel !
✍️ Étape 6 : ajouter le texte pour les réseaux sociaux
Pour finaliser notre visuel publicitaire, ajoutons un texte accrocheur avec la fonctionnalité Text & Typography.
Ajout du texte marketing
- Dans Image Studio Pro, activez Text & Typography
- Entrez votre slogan : "Live your best life with Volley 4 All"
- Configurez le style :
- Police : Moderne, lisible
- Couleur : Bleu foncé (cohérent avec le ballon)
- Position : En haut de l'image
- Fond : Bandeau semi-transparent clair
- Générez le visuel final
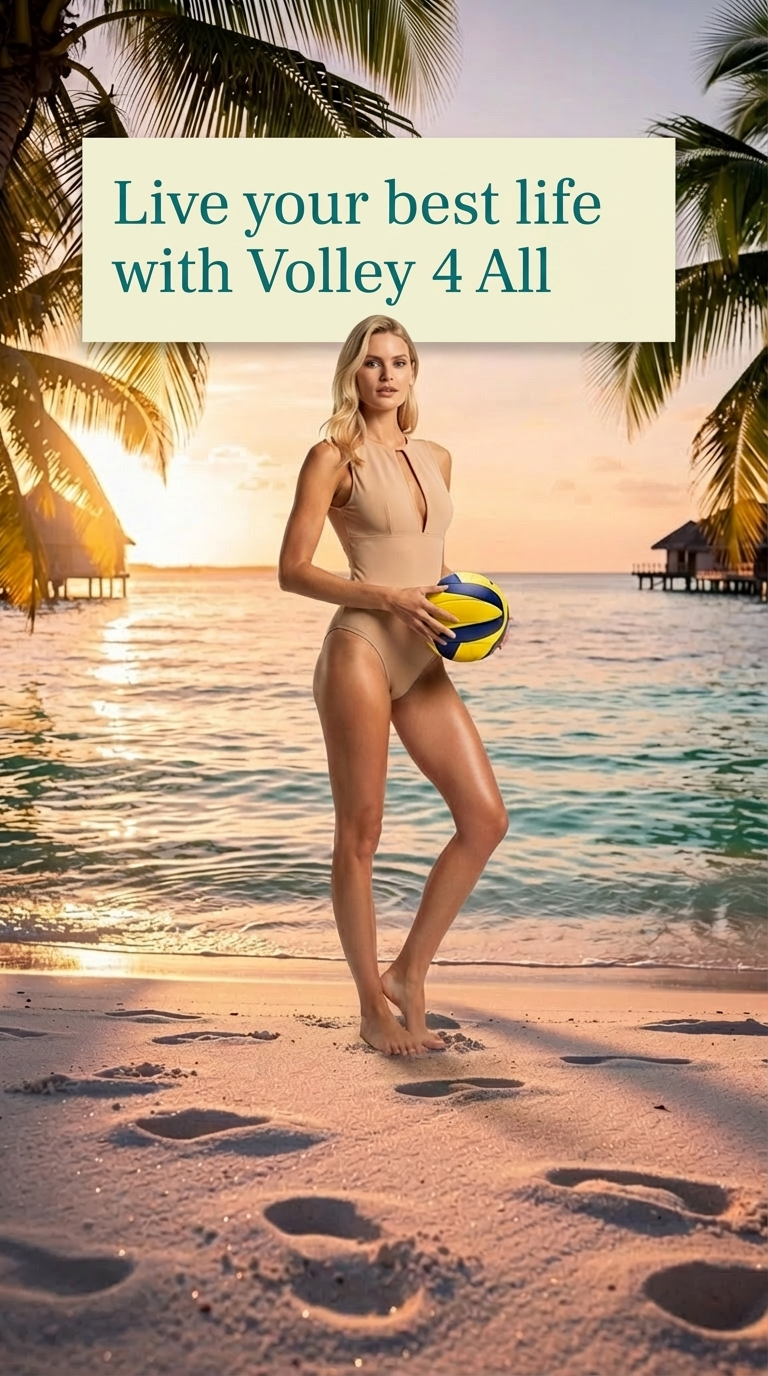
Le visuel final prêt pour Facebook, Instagram ou tout autre réseau social
Bonnes pratiques pour le texte sur image
| Élément | Recommandation |
|---|---|
| Longueur | Maximum 6-8 mots pour impact maximal |
| Contraste | Texte foncé sur fond clair ou inversement |
| Position | Éviter de masquer le sujet principal |
| Lisibilité | Police simple, taille suffisante |
| Call-to-action | Inclure le nom de marque |
📊 Récapitulatif du workflow
Voici le workflow complet que nous avons suivi :
| Étape | Outil | Entrée | Sortie |
|---|---|---|---|
| 1 | Accessory Studio | Prompt texte | Ballon de volley |
| 2 | Background Studio | Prompt texte | Plage tropicale |
| 3 | Character Studio | Paramètres | Mannequin 1:1 |
| 4 | Image Tools | Image 1:1 | Mannequin 9:16 |
| 5 | Image Studio Pro | 3 images | Montage composite |
| 6 | Text & Typography | Texte + image | Visuel final |
Temps total estimé : 10-15 minutes
Comparé à un shooting photo traditionnel qui nécessiterait :
- Location de plage ou studio
- Mannequin professionnel
- Photographe
- Accessoires
- Post-production
Le coût et le temps sont divisés par 10 minimum !
💡 Cas d'utilisation
Ce workflow multi-images est parfait pour :
E-commerce et retail
- Photos de produits en situation
- Lookbooks virtuels
- Campagnes saisonnières
Réseaux sociaux
- Posts Instagram et Facebook
- Stories verticales
- Publicités sponsorisées
Marketing digital
- Bannières web
- Landing pages
- Newsletters
Agences et freelances
- Maquettes client
- Prototypes de campagnes
- Tests de concepts
❓ FAQ
Combien coûte ce workflow complet ?
Chaque génération d'image coûte 9 crédits. Pour ce tutoriel complet (6 générations), comptez environ 54 crédits. Avec l'essai gratuit de 150 crédits, vous pouvez créer plusieurs visuels complets.
Puis-je utiliser mes propres photos comme base ?
Oui ! Vous pouvez uploader vos propres produits, mannequins ou backgrounds et les combiner avec des éléments générés par l'IA.
Les images générées sont-elles libres de droits ?
Oui, toutes les images créées avec YourRender.ai vous appartiennent et peuvent être utilisées commercialement sans restriction.
Quels formats d'export sont disponibles ?
Vous pouvez exporter en PNG, JPEG ou WebP, en résolution standard ou 4K selon votre abonnement.
Puis-je modifier le résultat après génération ?
Absolument ! Vous pouvez utiliser l'outil d'édition pour ajuster les couleurs, retoucher des détails ou regénérer des parties spécifiques de l'image.
🚀 Passez à l'action
Vous avez maintenant toutes les clés pour créer des visuels marketing professionnels avec le workflow multi-images de YourRender.ai.
Commencez votre essai gratuit avec 150 crédits et créez votre première composition multi-images dès aujourd'hui. Que ce soit pour votre e-commerce, vos réseaux sociaux ou vos campagnes publicitaires, l'IA est désormais votre meilleur allié créatif.
Essayer YourRender.ai gratuitement | Voir les tarifs | Explorer les studios